Installation and Configuration of SolidCP Control Panel on Windows
Installation and Configuration of SolidCP with Windows OS
The following is required in advance:
- Windows Server (2003 or above)
- SQL Server (2005 or above)
- Download and install Web Deploy: http://www.iis.net/downloads/microsoft/web-deploy
- Download and install the SolidCP http://solidcp.com/downloads/
- The setup wizard will install SolidCP on your server, check the check box beside "I accept the terms in the license Agreement" click "Install".
- Click on Install to continue.
.png)
- Click finish to complete the installation.
.png)
- Open the SolidCP, then click “View Available Components” .
.png)
- Click on Install beside SolidCP Standalone Server Setup.
.png)
- SolidCP download manager will appear which will download the setup files.
.png)
- Click on NEXT to continue.
.png)
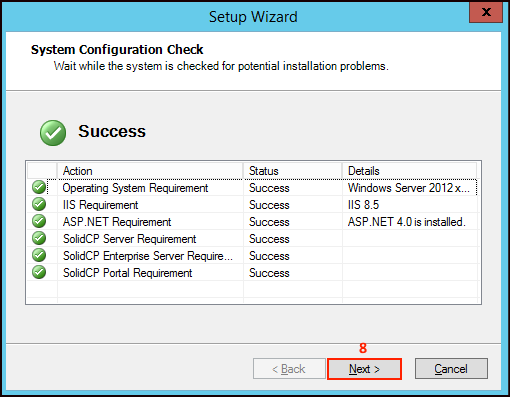
- System Configuration check will appear, click NEXT to continue
- Provide the IP address.
- Type the Host name.
- Click Next to continue.
.png)
- Type localhost beside SQL Server
- Select the Authentication type.
- provide the username and password
- Click Next to continue.
.png)
- Now set the administrative password.
- Click NEXT to continue.
.png)
- Once the installation procedure is completed click on Next to complete the setup
.png)
Note : In order to access SolidCP open your Internet Browser then type your Server IP address which you have assigned during post installation along with port number for example http:\\10.0.0.1:9001.
Configuring IIS for SolidCP
- Open IIS Management --> Click on "Application pools"
- For each SolidCP Application pool
- click: --> Advanced settings...
.png)
- Set startmode to "AlwaysRunning"
.png)
- set Idle Time-out (minutes) to "0"
.png)
- set Regular Time Interval (minutes) to "0"
- Click on OK.
.png)
Note :
- Repeat the step from 1 to 7 for each SolidCP Application pool.
- Above IIS configuration is required only when you want to configure shared server.
Adding Domain into the Solid CP
For Installation and configuration of Domain follow the below Steps-
- Once you login into SolidCP under Systems you will get an option Domains Click on it.
.png)
- Now Click on Add Domain.
.png)
- Click on Domain.
.png)
- Now provide the Domain name.
- type the host name.
- Tick beside Allow customer subdomain if you want to allow customer to crate subdomain.
- Click on Add Domain.
.png)
- Now go to Web Sites.
.png)
- Click on the website name.
.png)
- Tick the checkbox beside Enable Write Permissions.
- Tick the checkbox beside Enable Static Compression.
- Click on Save Changes.
.png)
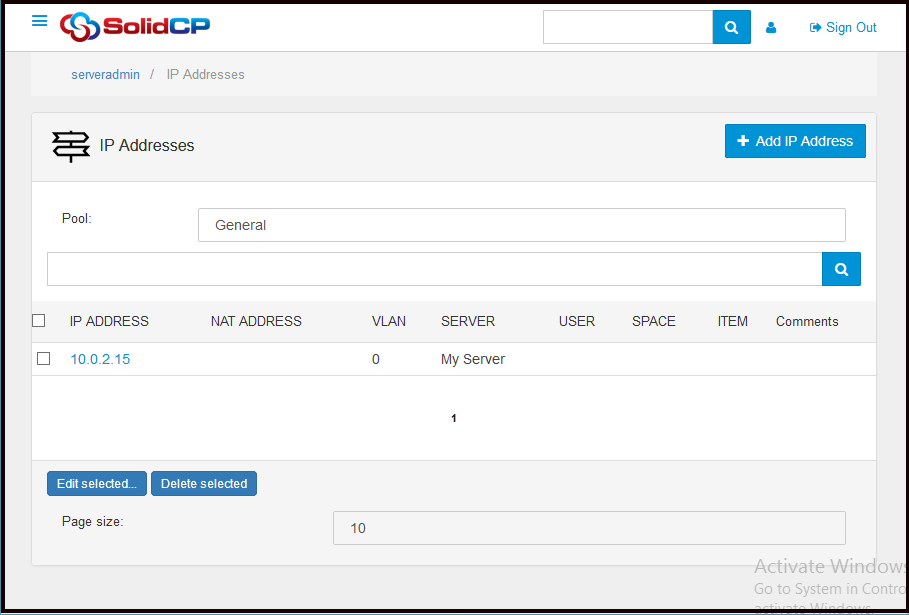
- Now go to left pan expand Configuration.
- Go to IP address click on it.
.png)
- Now check whether your IP address has been added.
- Now under System Settings go to web platform Installer settings provide the developer url.
.png)
Related Articles
Reset Plesk Demo Control Panel Login
In order to reset the login details periodically for the demo control panel, the bset option would be to restore the demo domains and client logins through the Plesk Backup/Restore Command Line Utility. For Linux Server Login to shell as root user. # ...How to download website backup using plesk control panel
Steps to download website backup using Plesk Step 1: At first login to the Plesk control panel and click on Website & Domains then select the domain for which you want to take the backup and then go to file manager. Step 2: Select the folder (or ...SolidCP SSL Installation
How to install Let's Encrypt SSL Certificate on a Website in Solid CP SSL certificate can be installed on Window 2016 and Window 2012 servers. It will not work with Window 2008 OS. Following are the steps to install the SSL on Solidcp. Important ...Plesk services logs and configuration files
Plesk services logs and configuration files Plesk Logs Error log: /var/log/sw-cp-server/error_log Access log: /var/log/plesk/httpsd_access_log Panel log: /var/log/plesk/panel.log Configuration PHP config on RHEL-based: ...WinSCP Installation and Configuration Instructions
WinSCP Installation and Configuration Instructions WinSCP have a secure file transfer system which allows users to transfer files to and from the servers at the Law Center. This allows you to keep important documents and files in a secure place that ...